Creating a new CRM instance
Follow these steps to create a new CRM environment.
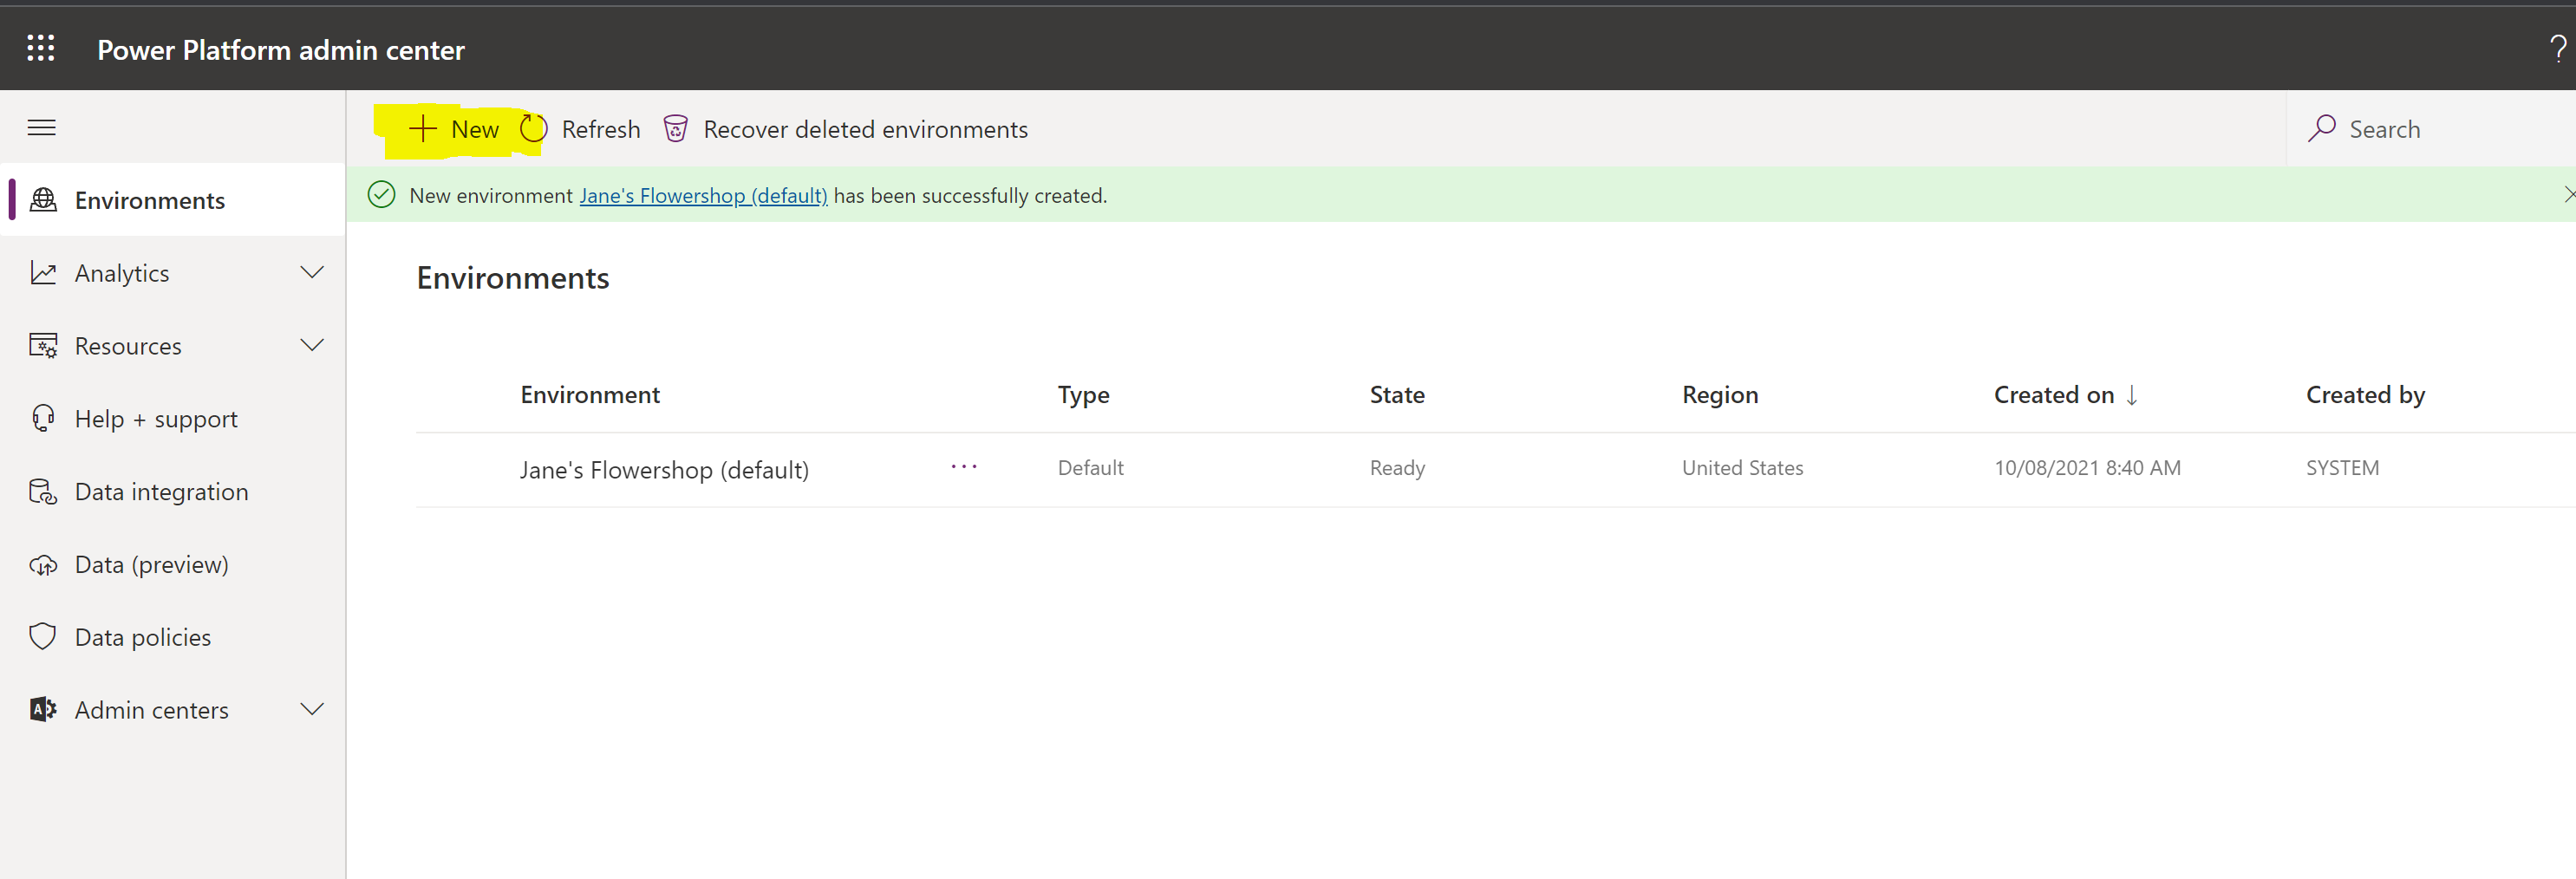
In the power admin center (admin.powerapps.com), hit +New to create a new crm instance. (you don’t want to use the Default one)

Add a company name, and select Sandbox (the screenshot below shows as trial, but for sandbox environment select the type as Sandbox. The same applies for Production environments).

Select the language and currency settings. Note if testing in a different currency or language is required for Work 365 this is where you set that up.

After completing Microsoft will prepare the trial instance. Hit the refresh button to confirm when it’s “ready”

Once it says ready click into the environment. Hit the edit button

Update the URL of the Environment.

Wait for it to update. It should only take a minute, and then will automatically go back to the other screen.


In the power admin center (admin.powerapps.com), hit +New to create a new crm instance. (you don’t want to use the Default one)
Add a company name, and select Sandbox (the screenshot below shows as trial, but for sandbox environment select the type as Sandbox. The same applies for Production environments).
Select the language and currency settings. Note if testing in a different currency or language is required for Work 365 this is where you set that up.
After completing Microsoft will prepare the trial instance. Hit the refresh button to confirm when it’s “ready”
Once it says ready click into the environment. Hit the edit button
Update the URL of the Environment.
Wait for it to update. It should only take a minute, and then will automatically go back to the other screen.
Once the CRM instance is created, open the environment, and assign security permissions to users as needed.
- Work 365 Security Roles (work365apps.com)
Then follow the steps in this article to complete the setup of Work 365 in the new environment.
Then follow the steps in this article to complete the setup of Work 365 in the new environment.

